
Last updated November 22, 2026
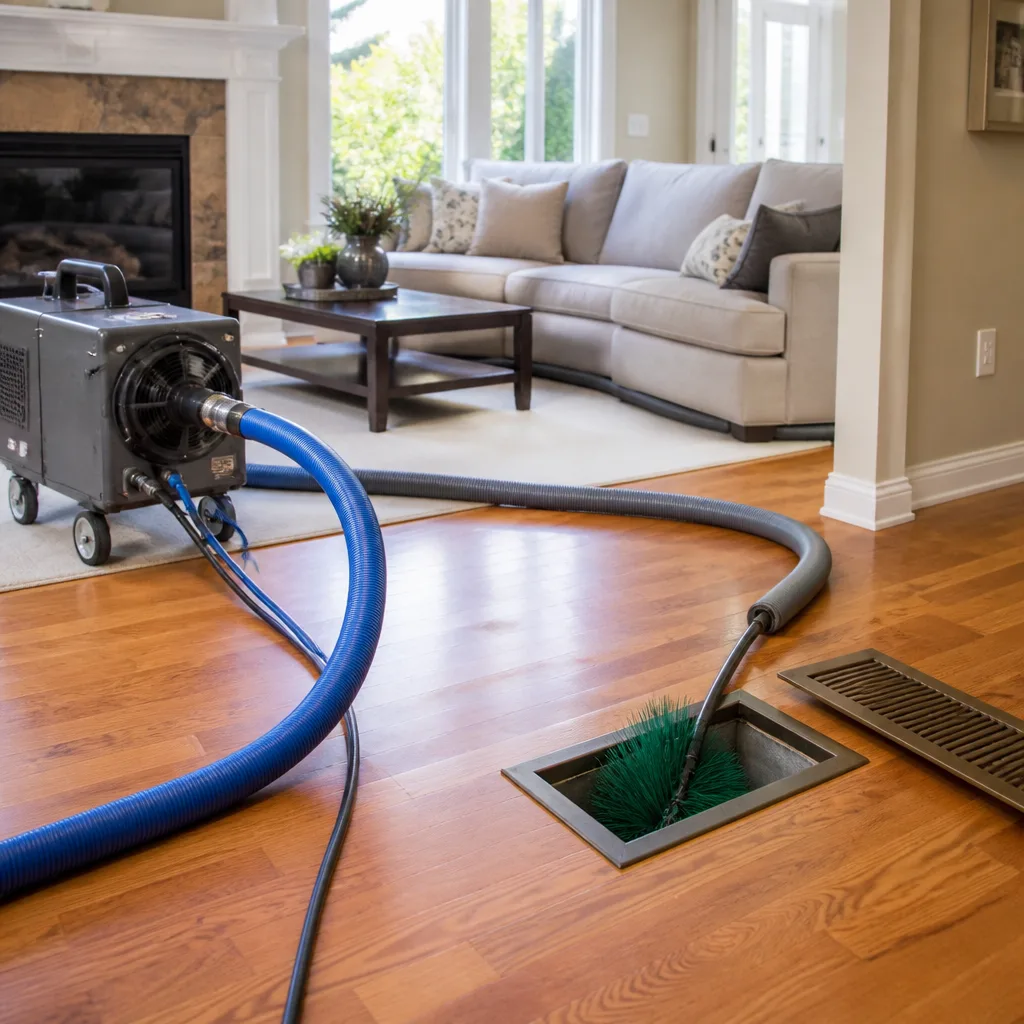 Whole-home duct cleaning
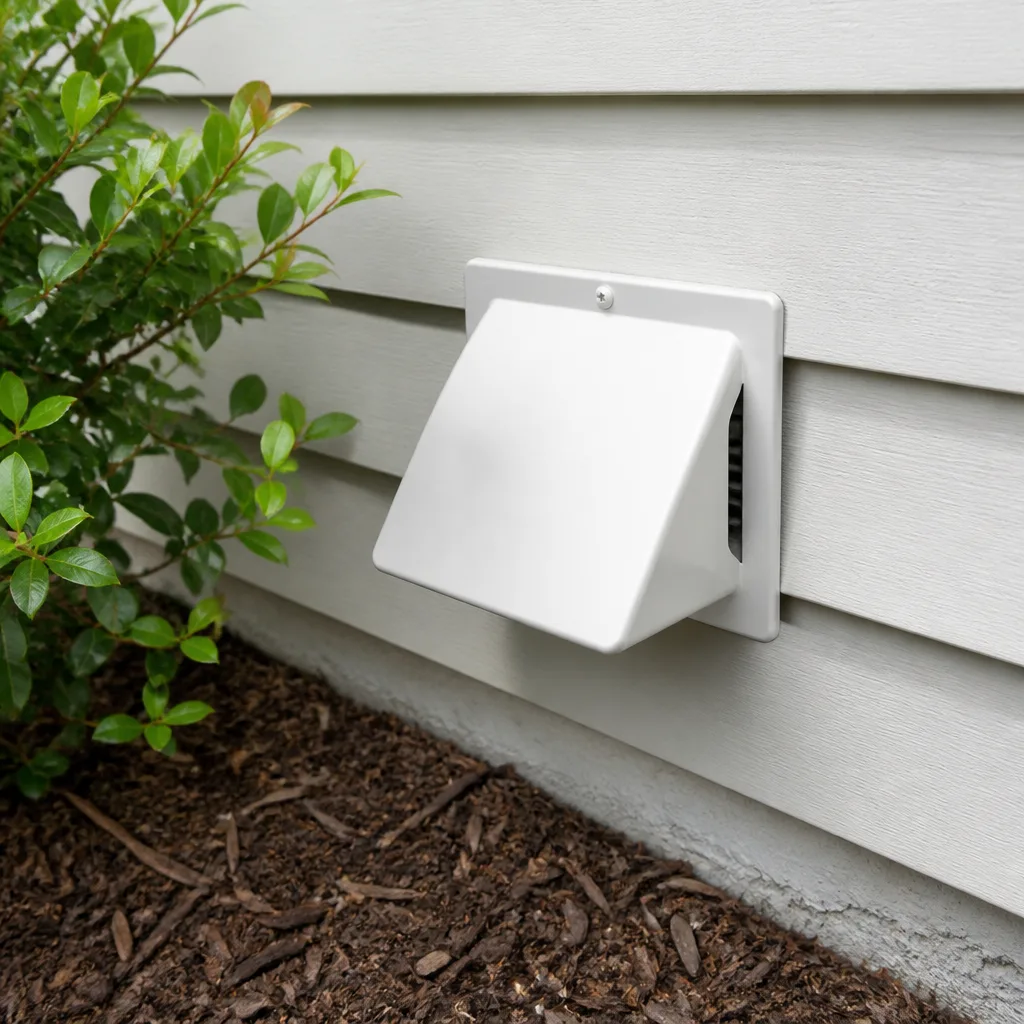 Dryer vent cleaning
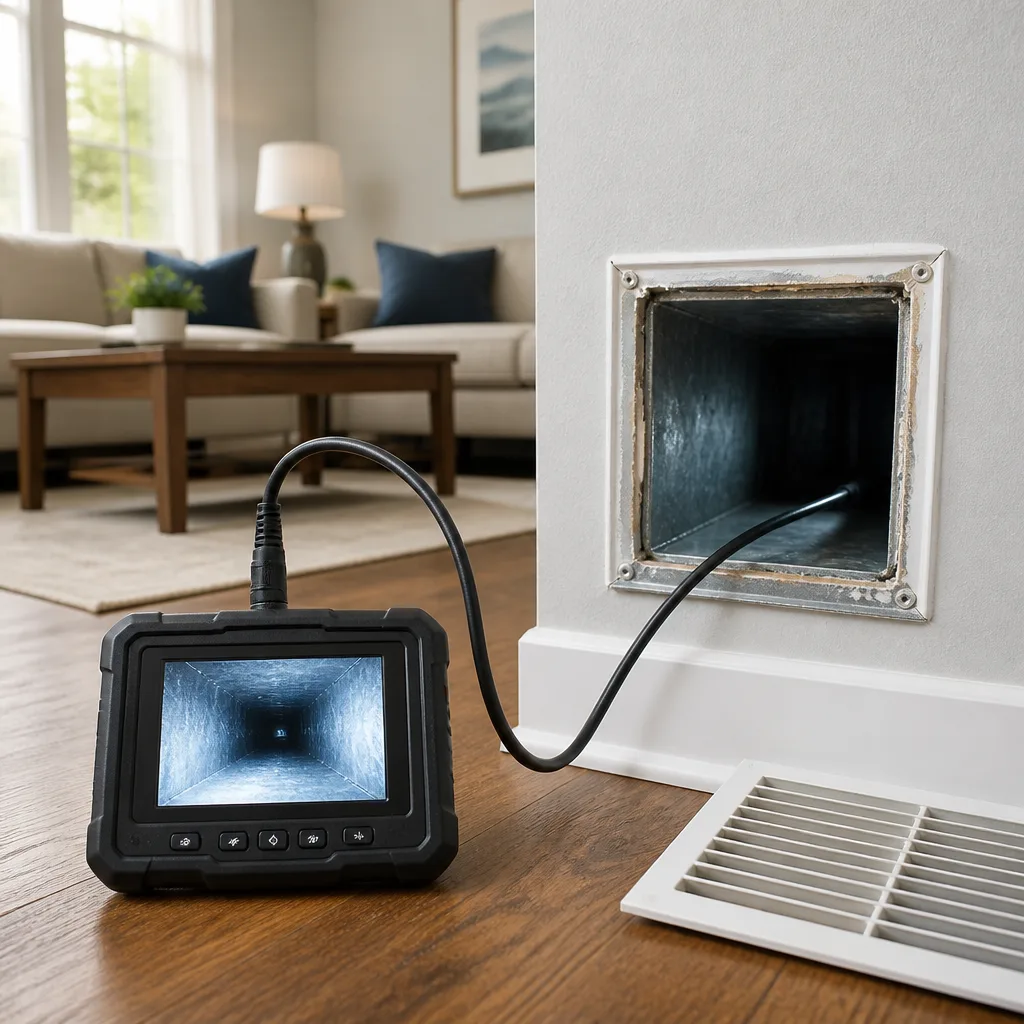 Camera inspection
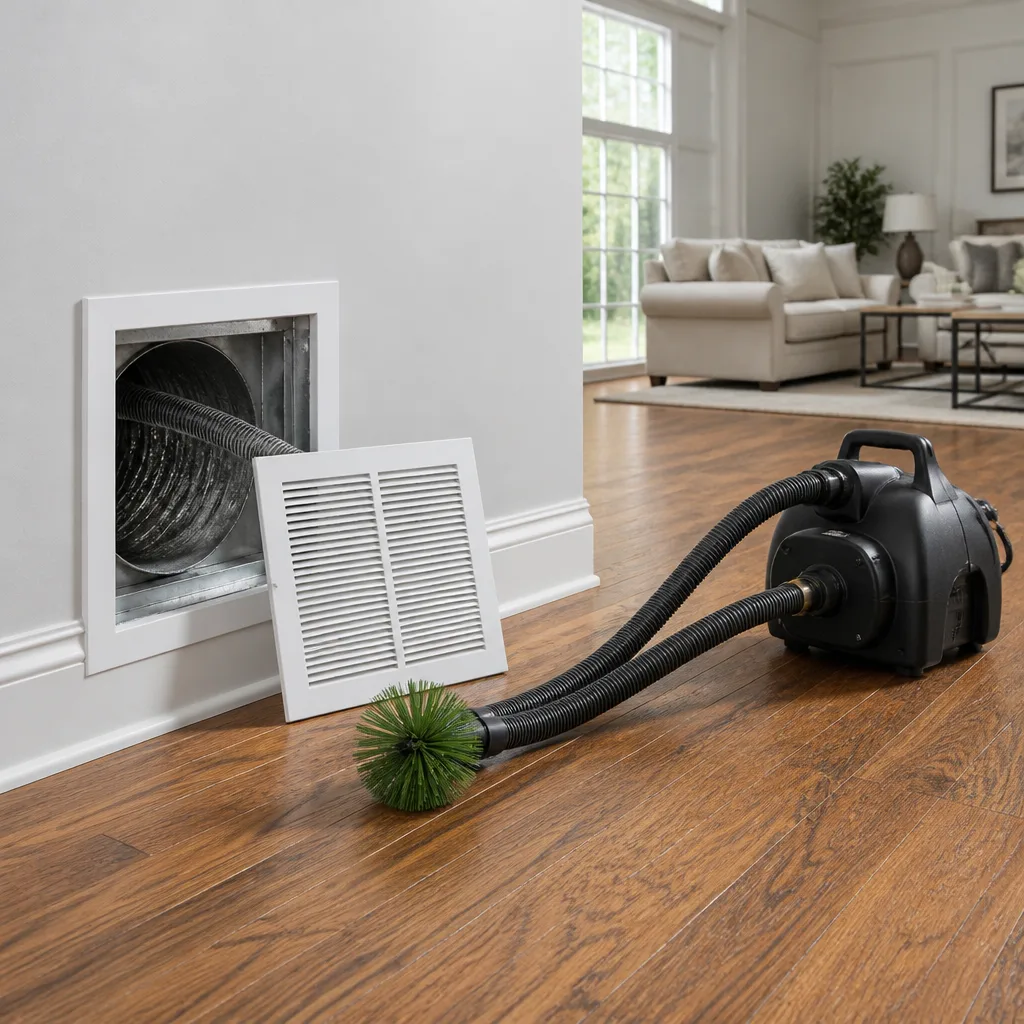 Sanitizing & deodorizing
Whole-system duct and dryer vent check with before-and-after photos - you see exactly what came out of your vents
That "$99 whole-house special" is a bait ad - the real number appears once they are in your hallway, or the "clean" is a shop-vac at the register. We photograph the inside of your ducts before and after instead.
DIY vs Professional Air Duct Cleaning: The East Harlem Homeowner’s Decision Guide
Most people treat the DIY versus professional duct cleaning question as a matter of money. It isn’t. It’s a matter of physics. The consumer duct kits sold at hardware stores move somewhere in the neighborhood of 50 to 80 cubic feet per minute of suction, while professional standards for real source-removal work call for a minimum of 2,500 CFM at the vacuum collection unit. That gap isn’t a matter of technique or elbow grease. It decides whether contamination gets captured or simply stirred up and redistributed through your home. In this guide we’ll walk through what those numbers actually mean for an East Harlem apartment or brownstone, what you can safely handle yourself, and how to tell when a job has outgrown a shop vac.
Quick Answer
For most East Harlem homes, DIY duct cleaning is limited to filter changes, register and grille wiping, and visual checks. Actual cleaning inside the ductwork requires professional negative-pressure equipment to remove debris rather than blow it back into living space. If you’ve noticed musty odors, worsening allergies, or uneven airflow, the job has moved past what a consumer kit can do, and professional equipment is the only way to capture contamination instead of disturbing it.
Styles & brands we work with
- Whole-home duct cleaning
- Dryer vent cleaning
- Camera inspection
- Sanitizing & deodorizing
Table of Contents
- Why Duct Cleaning Is a Physics Problem, Not a Cost Problem
- What Consumer Duct Cleaning Kits Actually Deliver
- What You Can Legitimately Do Yourself
- East Harlem-Specific Complexity: Pre-War Ducts and Hidden Runs
- The Hidden Cost of a Failed DIY Attempt
- How to Run a DIY Pre-Inspection Before You Call
- What Professional Equipment Actually Does Differently
- The Decision Framework: When DIY Ends and Professional Begins
Why Duct Cleaning Is a Physics Problem, Not a Cost Problem
Air duct cleaning works on one core principle: negative pressure. The vacuum collection unit pulls a strong, sustained draft through the duct system while agitation tools loosen debris from the duct walls. The debris travels toward the vacuum because the entire system is under a controlled pressure differential. Every particle that gets captured is one that never reaches your living room. The math is unforgiving. If the vacuum can’t move enough air, the duct stays under positive or neutral pressure, and agitation just mobilizes dust into the airstream and out your supply registers.
Consumer-grade kits operate at roughly 50 to 80 CFM. That’s a household shop vac pulling through a length of flexible hose. Professional standards for source removal call for a minimum of 2,500 CFM at the vacuum collection unit. The difference is not incremental. It’s around thirty times the airflow, and it’s the threshold that makes containment possible at all.
What this means in practice:
- Low CFM: debris is loosened but the vacuum can’t hold it. It settles back or escapes through gaps and registers.
- Adequate CFM: the entire duct system stays under negative pressure, so every loosened particle travels toward the collection unit.
- Agitation plus adequate CFM: caked-on debris releases from the walls and is captured in one pass rather than redistributed.
Every call we take starts with that distinction. When someone in East Harlem says their allergies got worse after a DIY attempt, the CFM explanation usually closes the loop. They didn’t clean the duct. They moved the contamination from the duct into the room.
What Consumer Duct Cleaning Kits Actually Deliver
Consumer kits combine a shop-vac adapter, a flexible brush head, and sometimes a short camera wand. They’re sold as duct cleaning systems, but the honest description is register-and-run clearing. They can pull surface dust from the first two or three feet of a branch line, and that’s about the extent of what their airflow supports.
Here’s what they cannot do, and why:
- Generate negative pressure across the whole system. A shop vac pulls from one open point. The rest of the ductwork stays at ambient pressure.
- Reach inaccessible runs. In East Harlem’s pre-war buildings, branches turn, narrow, and share chases. A short flexible brush doesn’t navigate them.
- Capture fine particulate. Mold spores, drywall dust, and construction debris require HEPA-level filtration on the collection end. Most shop vacs exhaust that particulate straight back into the air.
- Seal the system while working. Every open register during the job is a leak path. Professional systems cap and seal openings before the vacuum starts pulling.
The physics matters because it explains why people feel worse after a DIY attempt. The dust that was sitting in the duct is now aerated. If the debris contains mold spores or pest residue, you’ve just made the problem into an airborne one without capturing any of it. This is exactly the situation where our air duct cleaning East Harlem call starts with a reality check: what did the DIY attempt disturb, and what does the containment plan need to look like now?
What You Can Legitimately Do Yourself
DIY is not worthless. It’s just limited to a very specific slice of the work, and that slice is worth doing. Around the registers and grilles, on the filter side, and at the visible points of the duct system, a homeowner can genuinely help. Below is the version of DIY duct maintenance we think a careful East Harlem homeowner can own without risk.
- Replace your filters on schedule. A 1-inch pleated filter in a typical East Harlem apartment should be swapped every 60 to 90 days. If you have pets or anyone with allergies, check it every 30 days. The filter catches the particulate the HVAC can’t.
- Remove and wash the return grilles and supply registers. Most are held by two screws. Soak them in warm soapy water, scrub with a soft brush, dry completely, reinstall. This is surface cleaning, not duct cleaning, but the visible dust on a grille is often what people are actually reacting to.
- Wipe the duct opening you can reach. After removing a register, the interior of the boot and the first few inches of duct can be wiped with a damp cloth. Do not push debris deeper into the run.
- Vacuum the return plenum area from the outside. Using a HEPA-filtered household vacuum on the exterior intake (not the interior of the duct), you can pull loose dust from the accessible chamber without sending anything deeper.
- Keep the outdoor condenser and indoor air handler clear. Blocked airflow at these points forces the whole system to work harder and circulates more dust.
- Note the date. Write the filter change date on the filter itself with a marker. It saves you the “when did I last change this” question and it gives your future technician a baseline.
What’s missing from that list is anything involving the interior ductwork itself. That’s deliberate. Anything beyond the boot and the first few inches of accessible run requires equipment that can hold the system under vacuum while it works. For a deeper comparison of what professional air duct cleaning involves, it helps to understand the full scope before deciding DIY is enough.
East Harlem-Specific Complexity: Pre-War Ducts and Hidden Runs
East Harlem isn’t a generic residential market. The building stock matters for this decision because the duct system’s age, materials, and geometry determine what a DIY attempt risks disturbing. Many East Harlem buildings date from the early- to mid-twentieth century. Duct runs in these buildings were often retrofitted at various points, sometimes using materials that wouldn’t pass a modern install inspection and sometimes routed in ways no current drawing reflects.
What that means for a homeowner considering DIY:
- Duct materials vary by era of renovation. Pre-war construction sometimes has older duct liner and insulation that crumbles under contact. A brush that seems harmless can break down the lining of a 1940s-era run.
- Runs are not straight. Chases in pre-war apartments frequently serve multiple units and turn at sharp angles. A short brush hits the first elbow and stops. It doesn’t reach the problem zone.
- Access points are limited. Modern construction often has a designated access panel per run. Older East Harlem buildings may have none. Access often requires careful opening and resealing, not prying.
- Mold risk is real in this housing stock. Bathroom exhaust and kitchen exhaust runs share spaces with HVAC more often than in newer builds. If a run has moisture exposure, mold growth is plausible. Any DIY attempt that disturbs mold without HEPA containment turns a cleaning job into a health matter.
- Water penetration history matters. Older buildings with any history of roof or plumbing leaks often have ducts that were never properly dried out. That’s the textbook condition for duct-borne mold.
If you live in a pre-war building and haven’t had the duct system inspected in years, we recommend treating the DIY inspection as a discovery step, not a cleaning step. Photograph what you can see, document what you find, and let a professional assess the rest. East Harlem homes with these characteristics are exactly the ones where professional containment matters most.
The Hidden Cost of a Failed DIY Attempt
The consumer math usually looks like this: a duct cleaning kit costs a fraction of a professional job, so even if it only does half the work, it’s still worth it. That math is wrong in one specific way. A failed DIY attempt doesn’t lower the cost of a professional cleaning. It often raises it.
Here’s the mechanism. When caked-on contamination in a duct is disturbed without adequate negative pressure, some of it re-settles in zones the duct system wasn’t originally contaminated in. Debris that was concentrated in a return branch gets spread into the supply side. Mold spores that were dormant become aerosolized. When a professional crew arrives later, they’re not cleaning the original problem, they’re cleaning a worse-distributed version of it, and the containment plan has to work harder.
The three cost effects we see most often:
- Wider contamination footprint. Cleaning a focused dirty zone is a smaller job than cleaning a fully distributed dust load across supply and return.
- Possible remediation scope. If mold spores were released into the living space, the job can shift from cleaning to remediation-adjacent work requiring more rigorous containment and HEPA filtration.
- Damage assessment. Rough brush tools on fragile or older duct liner can cause damage that requires sealing or repair, which isn’t part of a standard cleaning cost.
None of this is a reason to avoid DIY entirely. It’s a reason to draw a firm line: surface work, yes. Duct interior, only when proper equipment is involved. When there’s real contamination and it’s been disturbed once already, professional containment is the cheaper path in the end.
How to Run a DIY Pre-Inspection Before You Call
The best use of a homeowner’s time before calling a professional isn’t cleaning. It’s producing information. A careful pre-inspection done with a phone camera, a notepad, and no tools gives a technician a much better starting point than a vague “the air smells musty.” Here is the method we recommend to East Harlem homeowners who’d rather do the diagnostic work themselves.
- Photograph every accessible register and grille. Supply and return. Open each one and photograph the interior of the boot and first few inches of duct. Include a coin or a pen in the photo for scale. Note the register location in your building, especially if it’s an older floor plan.
- Note every register’s airflow strength. Stand under each supply register with a tissue on a stick (or just your hand). Write down whether airflow feels strong, weak, or intermittent. Uneven airflow is one of the strongest indicators of duct restriction or leakage.
- Check the filter and the air handler cabinet. Photograph the filter (clean and in-place), the date written on it, and the area around the air handler. Note any visible dust accumulation around the cabinet doors or seams; that suggests leakage.
- Record any odors. Where do you notice musty, dusty, or “old building” smell most strongly? Kitchen, bathroom, bedrooms, hallway? Timing matters too: right after the HVAC starts is different from all day.
- Look for visible moisture. Water stains on ceilings, duct wrap, or nearby walls. Damp patches near any register. Photograph these with location notes.
- Note building era and any renovation history you know. Pre-war versus post-war, any prior owner’s renovation work you’re aware of, any recent drywall or painting.
- Measure the accessible runs where you can. Rough length from register to first elbow, rough diameter of the visible duct at the boot. This gives a technician a head start on access planning.
Send that documentation with your call. We’ve found that homeowners who do this pre-work get a much more productive first conversation, because the technician can plan tool access, containment, and time realistically before arriving. For HVAC-focused issues uncovered in this kind of pre-inspection, HVAC cleaning may be the more relevant service than duct cleaning alone.
What Professional Equipment Actually Does Differently
There’s no secret ingredient to professional duct cleaning. It’s a different category of equipment operating under different physical constraints. The reason professional crews use the systems they do is that those systems are built to solve the containment problem we opened with, and nothing short of them does.
What changes:
- High-CFM vacuum collection units that pull the whole system into sustained negative pressure. The starting point for source removal, and the reason a cleaning can capture rather than redistribute.
- Rotary agitation tools that scrub the duct walls without damage. Rotobrush systems are built for this: they combine controlled agitation with a HEPA-filtered vacuum connection so released debris goes straight into the collection unit.
- HEPA filtration on the exhaust side. Everything the vacuum pulls up passes through filters rated to capture fine particulate, including mold spores. Consumer shop vacs don’t do this.
- Source-removal verification. Professional crews use Nikro systems and inspection tools to check whether the run actually came clean, not just whether the first pass is done.
- Containment for contamination cases. When the situation involves mold risk, post-construction debris, or pest residue, Abatement Technologies equipment lets the job proceed without spreading the problem.
- Immediate repair and sealing. Any leaks or damage found during the clean get addressed in the same visit, preserving HVAC efficiency for the long run.
- Product integration after cleaning. When the duct system has been cleaned and the homeowner wants to add filtration or air quality products, systems compatible with Aprilaire or Honeywell equipment can be installed on the same visit rather than a second appointment.
The brand name on the equipment matters because it tells you what the crew is capable of. Rotobrush and Nikro are the platforms certified HVAC and remediation contractors use. Abatement Technologies is the name behind containment equipment for contamination work. When a company invests in these tools, they’ve decided the equipment has to solve the physics, not just perform a surface clean. A dryer vent, which runs the same risk of unnoticed debris buildup, benefits from the same equipment philosophy, which is why we handle dryer vent cleaning alongside duct work.
The Decision Framework: When DIY Ends and Professional Begins
Use these questions as a decision tree before you start any work.
DIY is likely sufficient if:
- You’re cleaning the visible grilles and registers only.
- The filter is being changed on schedule and the air handler cabinet is sealed.
- There’s no visible dust, debris, or moisture inside any duct opening.
- Airflow feels consistent at all registers.
- No one in the household reports new allergy symptoms, and there are no musty odors.
Professional cleaning is warranted if:
- Airflow is uneven or weak at multiple registers.
- There are musty odors or the smell of pest activity.
- A recent renovation or any drywall work happened (construction dust travels).
- The building is pre-war and the duct system hasn’t been cleaned in years.
- There’s moisture history or visible water staining near any duct route.
- Someone in the household has airway sensitivity, and you’ve tried the DIY steps with no improvement.
- The dryer vent hasn’t been cleaned recently and is on a long run.
If any of the second group of conditions applies, the next step isn’t a more aggressive DIY attempt. It’s a professional assessment. We’ve seen plenty of East Harlem homes where the honest answer was “the DIY steps you’ve been running are fine, and you need one full professional cleaning to reset the baseline.”
Common Mistakes to Avoid
- Running a consumer brush kit without sealing the other registers. Every open register is a leak path. If the whole system isn’t sealed, the vacuum can’t pull through anything beyond the nearest unbaffled run.
- Using an unmodified shop vac without HEPA filtration inside a duct. A standard shop vac exhausts fine particulate straight back into the room. That includes mold spores, drywall dust, and pest residue.
- Pushing a brush past its reach in an older pre-war run. Short brush kits jam at the first elbow. Forced past that, the brush can break duct liner, and repairing duct liner is a larger job than the cleaning ever would have been.
- Ignoring visible moisture because the duct “doesn’t look that dirty.” Mold growth in East Harlem apartments is often in the duct wrap or the space behind a register, not in the visible portion. Any water history needs a professional look.
- Skipping the filter baseline. If you replace the filter and don’t record the date, you can’t tell whether you’re making progress. Write the date on the filter.
- Treating dryer vents like HVAC ducts. Consumer duct kits aren’t appropriate for dryer vents, because trapped lint creates a fire risk and requires rigid tools. That’s a professional job because of the fire exposure, not the cleaning.
- Calling “done” after a single pass through the accessible boot. Cleaning the first six inches of a run doesn’t clean the run. It cleans the part you can see.
See the difference
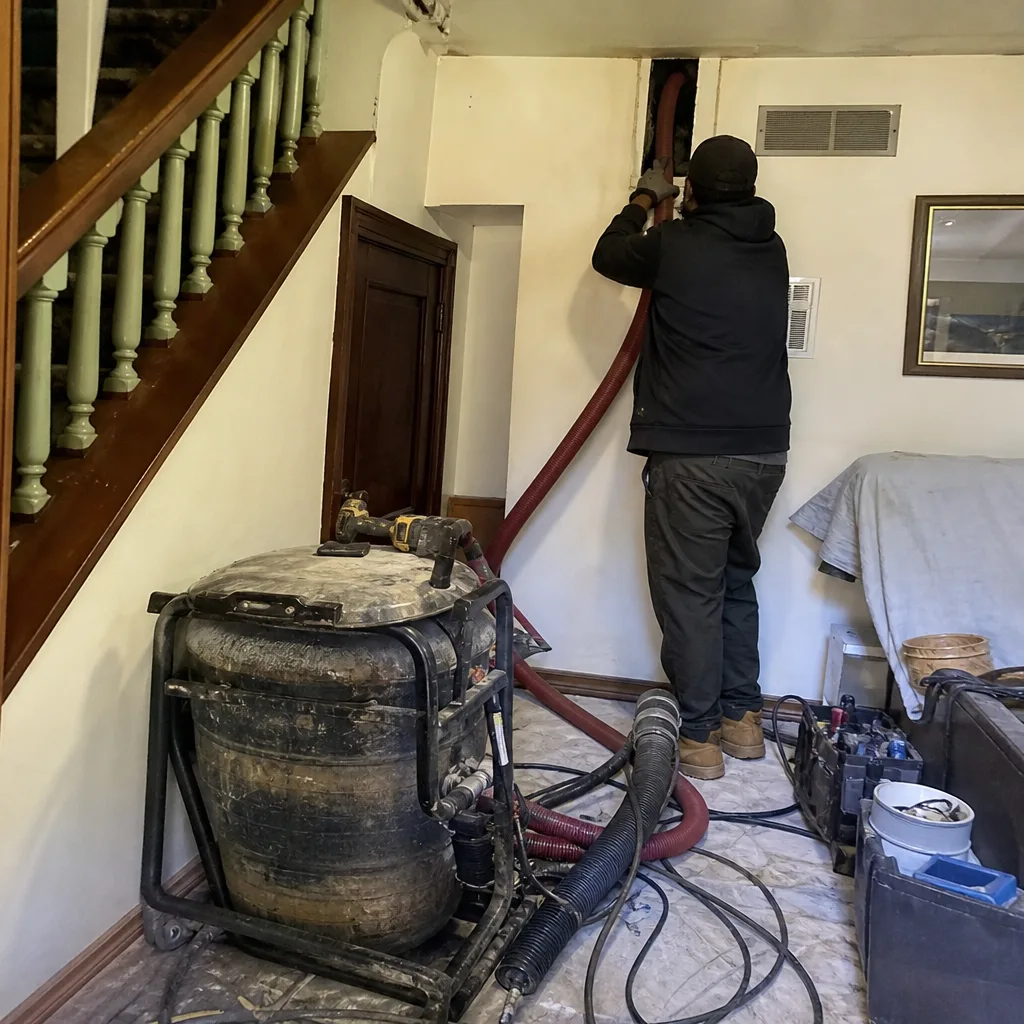 Before
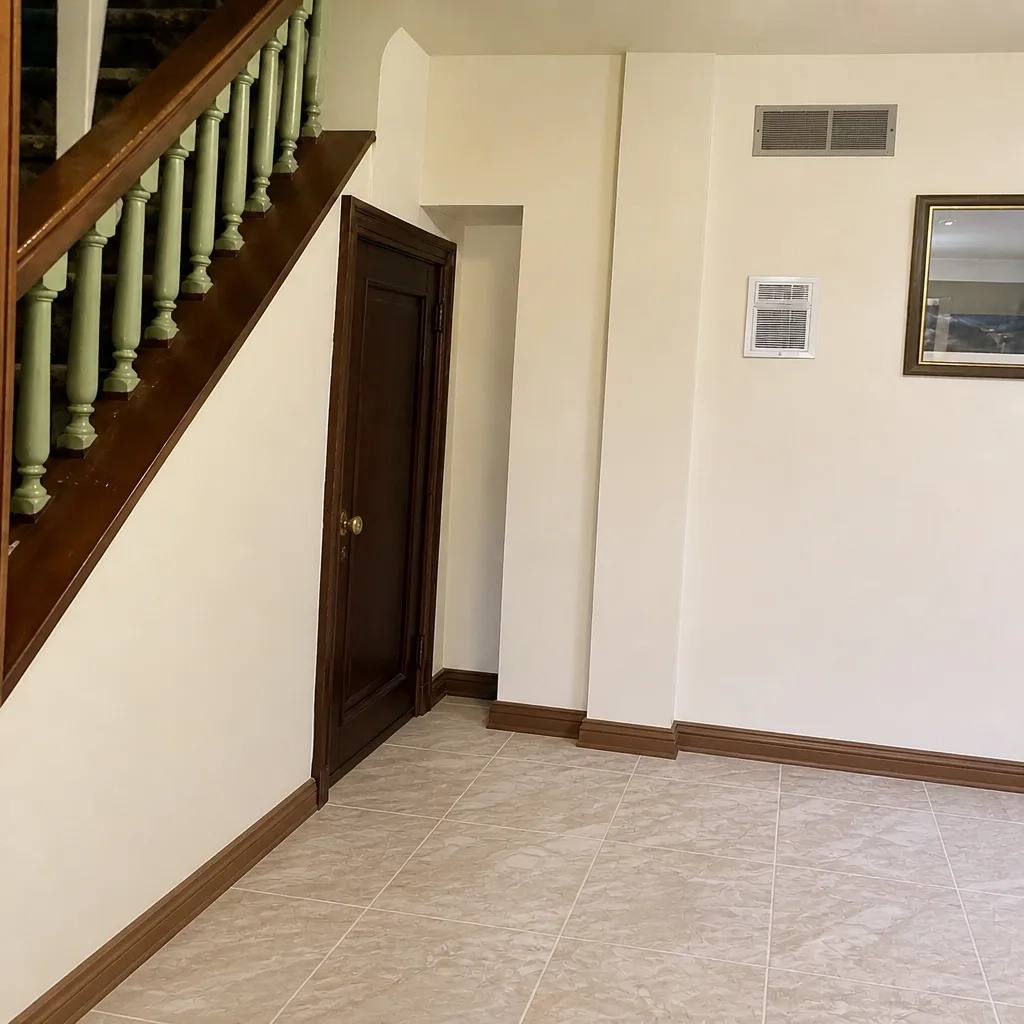 After
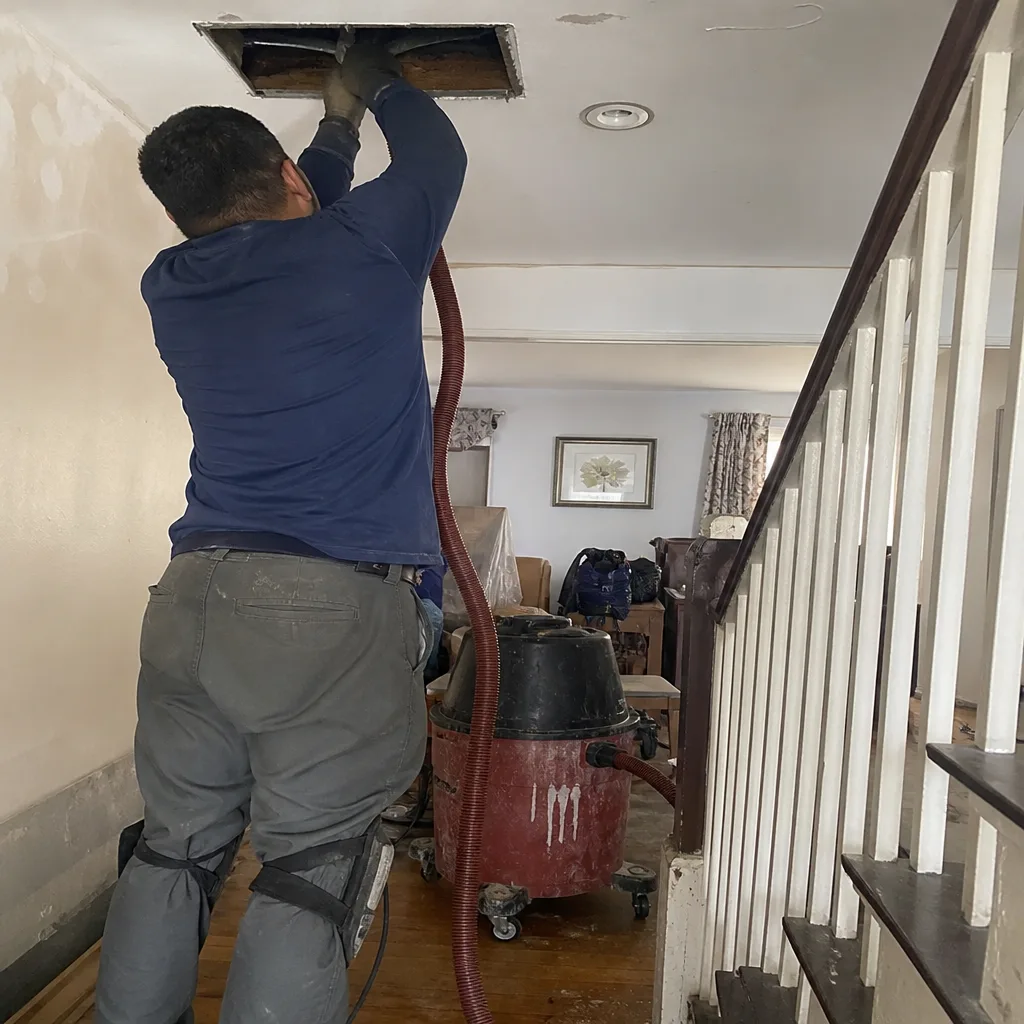 Before
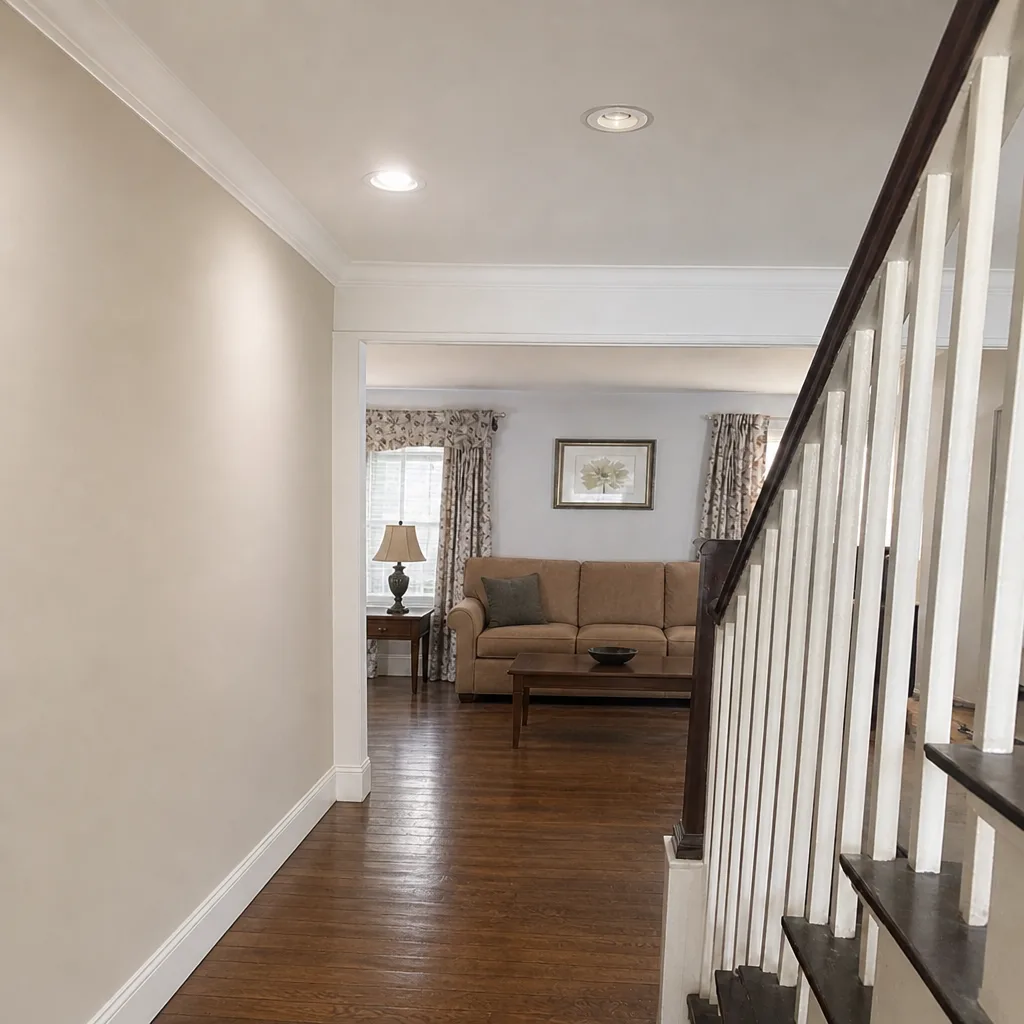 After
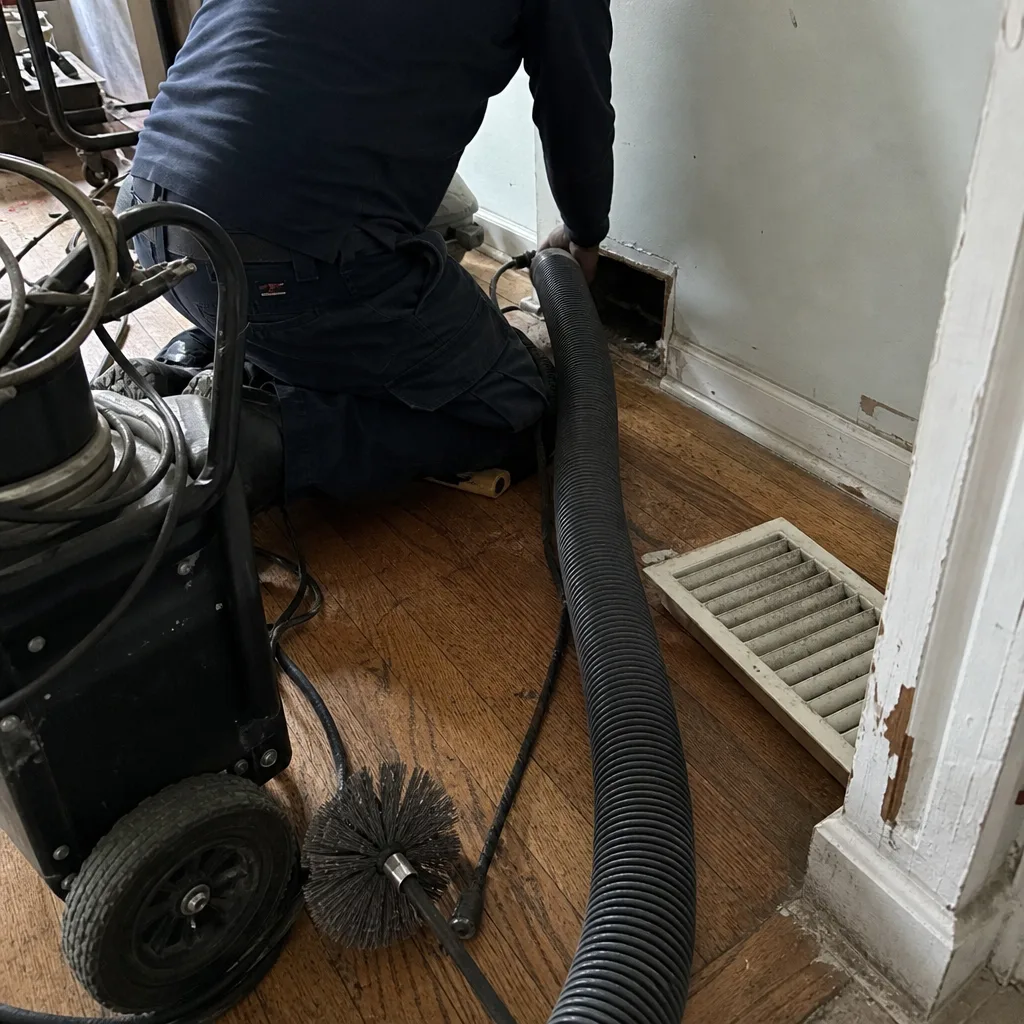 Before
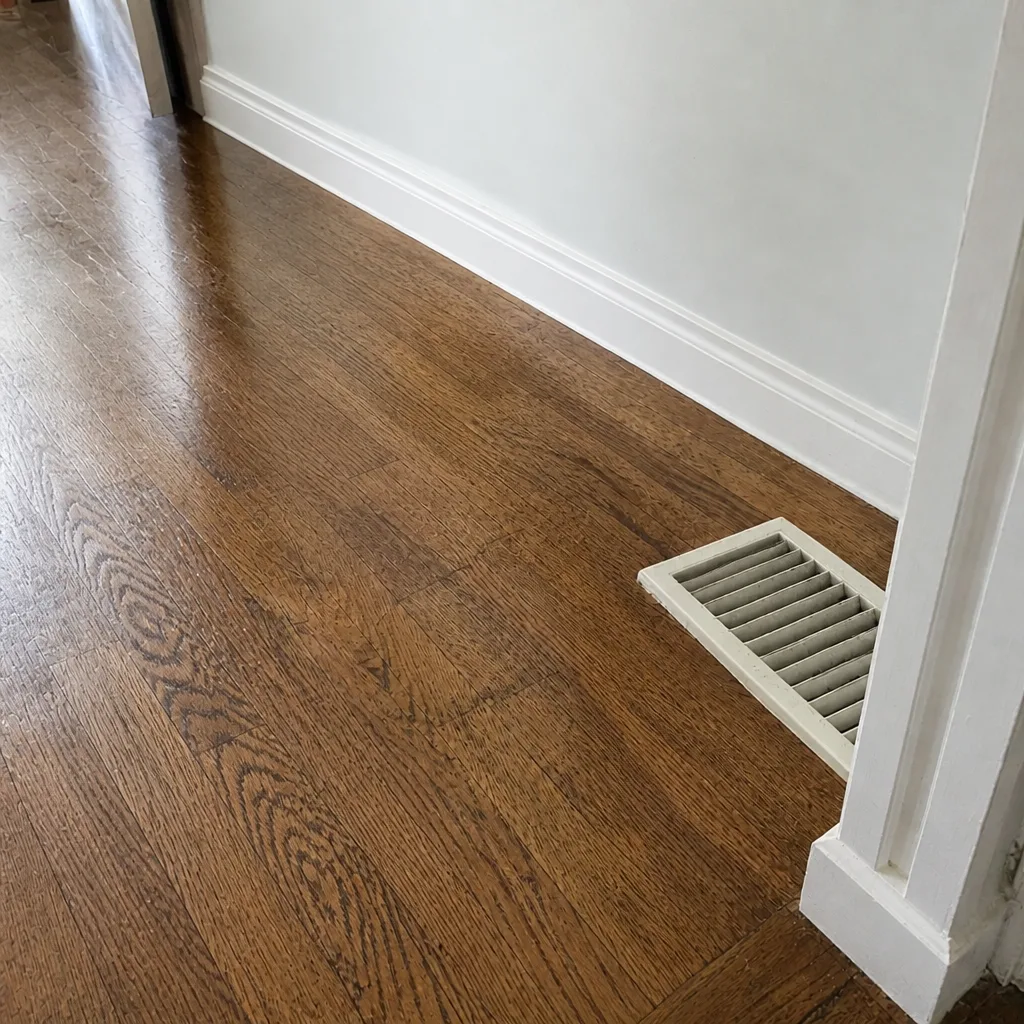 After
When to Call a Professional
Call for professional help the moment the decision stops being about visible surface dust. That includes: musty or mold-adjacent odors, visible debris inside ductwork, uneven airflow across multiple registers, recent renovation work, any water history near a duct route, pre-war construction with an untracked duct system, and any of the above combined with a household member’s allergy or asthma. The same call covers a dryer vent that hasn’t been cleaned recently, because that’s a fire-safety exposure rather than just an efficiency one. Our technicians have up to 15 years of experience with East Harlem’s pre-war building stock and can scope the job from your pre-inspection notes before arrival. Air Duct Cleaning East Harlem offers free estimates in East Harlem. Call (833) 508-9257. We answer 24/7, with fast dispatch from 7am to 7pm, Sunday through Friday.
Frequently Asked Questions
You can clean the accessible portion, which is the register grille, the boot, and the first few inches of visible duct, with a HEPA-filtered household vacuum. You cannot effectively clean the interior duct runs with a shop vac. The airflow rate is roughly 50 to 80 CFM versus the minimum 2,500 CFM professional standards call for, and at that rate the vacuum can’t hold the system under negative pressure, so debris gets disturbed rather than captured. If the job needs the interior cleaned, that’s a professional scope. Call (833) 508-9257 for a free estimate if you’re not sure which category your situation falls into.
The quote spread usually reflects equipment and scope, not labor hours. A low quote often means the crew is running consumer-grade equipment or skipping containment and sealing, which produces a surface clean rather than a real source-removal job. A proper quote covers high-CFM vacuum equipment, sealing every register during the job, HEPA filtration, equipment-based agitation of the duct walls, and post-clean verification. When comparing quotes, ask what equipment is used, how containment is handled, and what verification method is applied. If those answers are vague, the lowest bid usually reflects a smaller scope than the higher ones, not a better price for the same work.
Watch for three signals in the first 48 hours: increased dust settling on horizontal surfaces, stronger musty or dusty odors when the HVAC kicks on, and new or worsened allergy symptoms, especially in the rooms served by the registers you cleaned. If any of these appear, the likely cause is disturbed contamination that wasn’t captured. Once that’s happened, the next step isn’t another DIY pass; it’s professional containment to re-capture what’s in the air and in the runs. Call (833) 508-9257 for an evaluation if the symptoms linger.
There’s no single number. In a typical pre-war East Harlem apartment, if the filter is changed on schedule, the grilles are kept clean, and there’s no smoking, pets, or moisture history, professional cleaning every five to seven years is a reasonable baseline. Move that up if: someone in the household has asthma or allergies, there’s a pet, there’s been a renovation, or the building has moisture history. Drastically overdue systems usually need one cleaning to reset the baseline, followed by a longer maintenance interval afterward. Call (833) 508-9257 for an exact quote on your home.
Ask for before-and-after imagery from inside the ductwork, not just at the register, and ask what equipment verification was used. Professional crews use camera inspection to check runs after cleaning, so the “done” claim is based on what was seen inside, not what was assumed. Ask specifically whether source removal was verified run by run. A crew that can’t show you the before and after images doesn’t have verification.
Dryer vent cleaning is a professional job, because the risk isn’t just inefficiency, it’s fire. Trapped lint near the dryer exhaust, especially on long runs, is a documented fire hazard, and consumer duct kits can’t safely reach far enough into a dryer vent to fully clear it. The tools required (rigid or semi-rigid rods with proper brush heads) aren’t sold at the consumer level for a reason. This is one we recommend treating as a safety call rather than an optional add-on. Call (833) 508-9257 for a quote.
The Bottom Line
The DIY versus professional question really comes down to whether you can create enough negative pressure to capture what you’re mobilizing. Around 50 to 80 CFM (consumer kit) versus 2,500 CFM (professional standard) isn’t a matter of degree; it’s the difference between a real clean and a redistribution. Do the DIY work you can do safely: filters, grilles, boots, documentation. Run a proper pre-inspection before you call. And when you cross into the duct interior, especially in pre-war East Harlem housing with mold risk or renovation history, use professional equipment and containment. That approach protects your health, your HVAC efficiency, and your wallet over time.
Air Duct Cleaning East Harlem works exclusively on air duct and HVAC systems, dry duct cleaning with professional-grade equipment, duct repair and sealing, and air quality services in one visit. We work with Rotobrush and Nikro systems, Abatement Technologies containment equipment, and Aprilaire and Honeywell air quality products. For a free estimate in East Harlem, call (833) 508-9257. We answer 24/7, with fast dispatch from 7am to 7pm, Sunday through Friday.
Written by the team at Air Duct Cleaning East Harlem.